scale-tone

DynamoDB + Linq2DynamoDB + ASP.Net Web API OData. Practice. Backend.
In one of my previous posts I demonstrated how you can expose a DynamoDB table as an OData resource with the help of Linq2DynamoDb.AspNet.DataSource. This requires just a few lines of extra code and works quite well. Unfortunately though, the service you create with that approach will be based on WCF Data Services technology. The development of which is not going to be continued by Microsoft, as you might already know. This technically means no further support for any new OData features and no bugfixes.
As a substitute, we now have ASP.Net Web API OData, which is based on ASP.Net Web API, is quite up-to-date and even has a chance to be ported on .Net Core and be able to run on Linux. However, ASP.Net Web API OData does not currently provide enough tooling for qickly bootstrapping OData endpoints on top of any data source. There’re some efforts made in that direction by the authors of RESTier library, but it seems to be in it’s early stage of development and does not demonstrate huge progress. So, if you chose to “odatatize” your DynamoDB tables with ASP.Net Web API OData, you would need to write some boilerplate code.
To close this gap, I created the Linq2DynamoDb.WepApi.OData package with only one major class in it - DynamoDbController. It implements all the required CRUD operations (by propagating them to underlying DataContext), so you just need to derive your Web API controller from it - and that’s it.
Let’s try that out. We’ll create a simple Notes OData resource similar to what we’ve done previously with WCF Data Services. This time it will be an ASP.Net Web API project though.
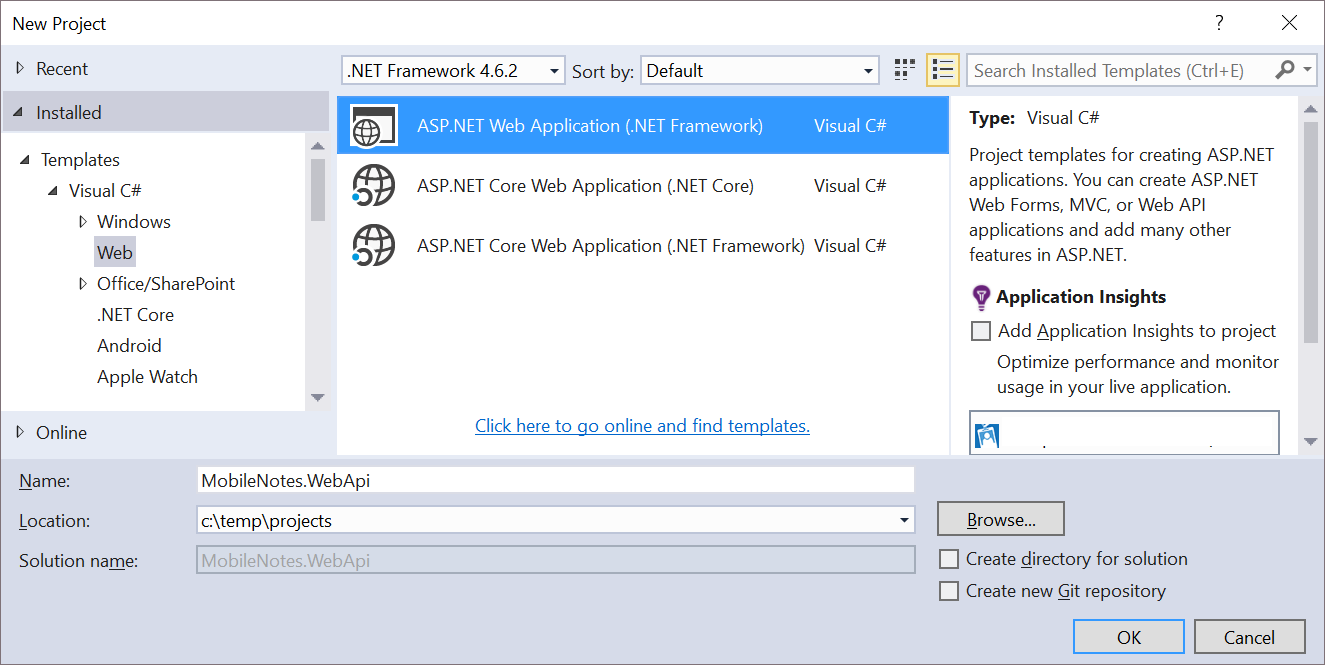
1. Start Visual Studio and create a new ASP.Net project:
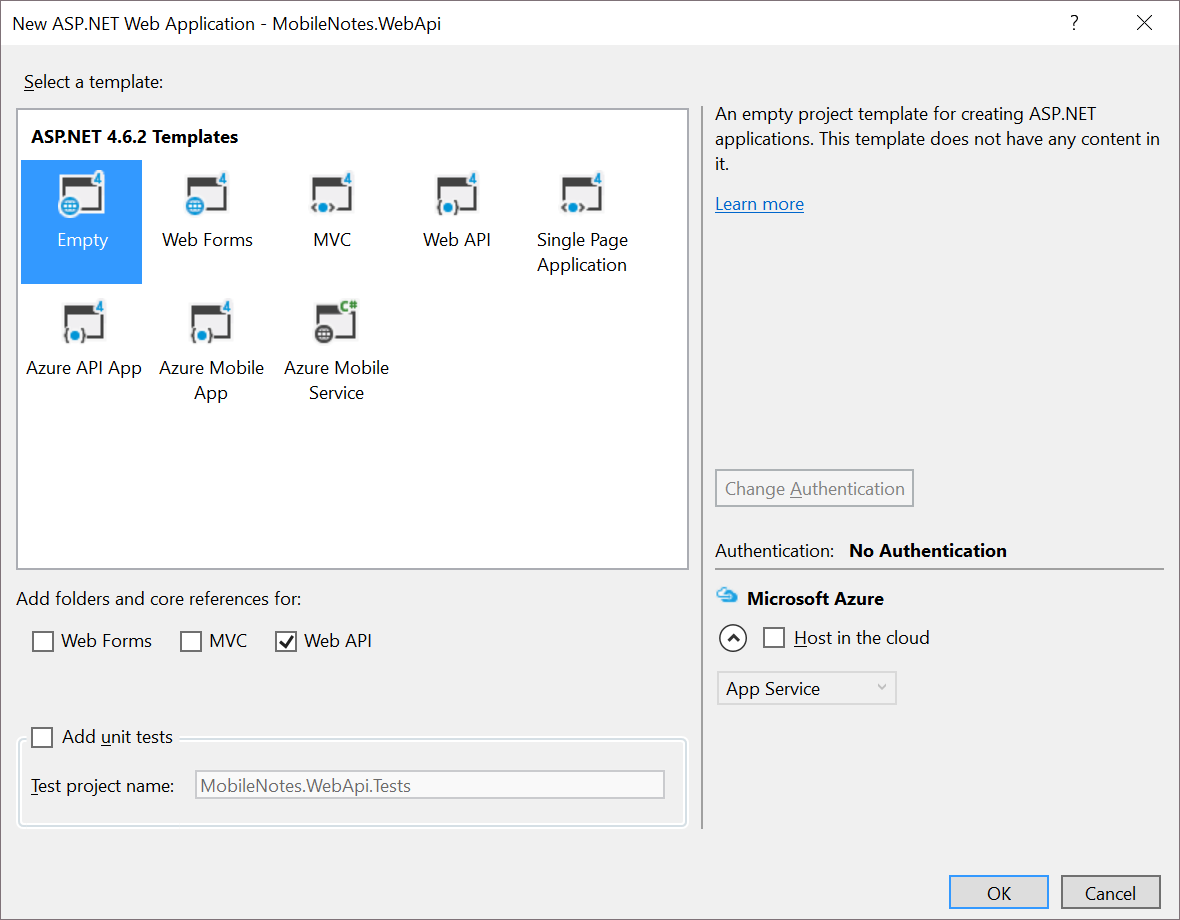
2. Select an empty template, but don’t forget to add folders and core references for Web API:
3. Add the following NuGet packages to the project with Package Manager Console:
Install-Package Linq2DynamoDb.DataContext.Caching.Redis
Install-Package Linq2DynamoDb.WebApi.OData
Install-Package System.IdentityModel.Tokens.Jwt -version 4.0.2.206221351
The first two packages bring AWSSDK, Linq2DynamoDB and StackExchange.Redis to your project, while the last one will be necessary for parsing JWT tokens.
4. Define your entity. In this example it will be just a simple Note class with three properties:
public class Note
{
   public string ID { get; set; }

   public string Text { get; set; }

   public DateTime TimeCreated { get; set; }
}
NOTE: as you can see, the steps above are almost identical to those we used when building a WCF Data Services service. Next steps though will be a bit different.
5. In your Controllers folder create a class named NotesController and derive it from DynamoDbController<Note>. Also add two static fields - for AmazonDynamoDBClient and StackExchange.Redis.ConnectionMultiplexer:
public class NotesController : DynamoDbController<Note>
{
	public NotesController() : base(DynamoDbClient, string.Empty, () => "demo_user_id", () => new RedisTableCache(RedisConn))
	{
	}

	private static readonly IAmazonDynamoDB DynamoDbClient;
	private static readonly ConnectionMultiplexer RedisConn;
}
So far we’ll be using a constant “demo_user_id” value for the the HashKey field, until we implement a proper user authentication (the code for which is following).
6. Add a static constructor, where the connections to DynamoDB and Redis are initialized:
static NotesController()
{
	DynamoDbClient = new AmazonDynamoDBClient();
	RedisConn = ConnectionMultiplexer.Connect(ConfigurationManager.AppSettings["RedisConnectionString"]);

	new DataContext(DynamoDbClient, string.Empty).CreateTableIfNotExists
	(
	   new CreateTableArgs<Note> ("UserId", typeof(string), g => g.ID )
	);
}
The last code line here creates the Note table, if it doesn’t exist yet, and the “UserId” string defines a name for the HashKey field.
7. Now go to your WebApiConfig.Register method and replace Web API initialization code there with the following:
public static void Register(HttpConfiguration config)
{
	new Linq2DynamoDbModelBuilder().WithEntitySet<Note>("Notes").MapODataServiceRoute(config, "ODataRoute");
}
This code uses Linq2DynamoDbModelBuilder helper class to map an OData route for our Note entity. If you have more DynamoDB tables (and therefore more entities and more corresponding controllers), you’ll need to map them as well, by chaining more WithEntitySet<TEntity>() method calls.
8. Add AWS credentials and Redis connection string to your web.config file:
<appSettings>
   <add key="AWSAccessKey" value="your access key>" />
   <add key="AWSSecretKey" value="your secret key>" />
   <add key="AWSRegion" value="ap-southeast-1" />
   <add key="RedisConnectionString" value="your Redis server address or multiple addresses of cluster nodes>" />
</appSettings>
NOTE1: Please, don’t store your AWS credentials in clear text in a config file in production. There’re many better ways to implement that. E.g. you can use AWS SDK profiles.
NOTE2: An MSI-file for installing Redis on your local Windows machine can be downloaded from here. After installing it you can just set the RedisConnectionString config parameter to “localhost”.
Now if you start you project and browse for http://localhost:35527/Notes (the port number might be different in your case), you’ll be able to see the contents of your Note DynamoDB table as an OData feed:
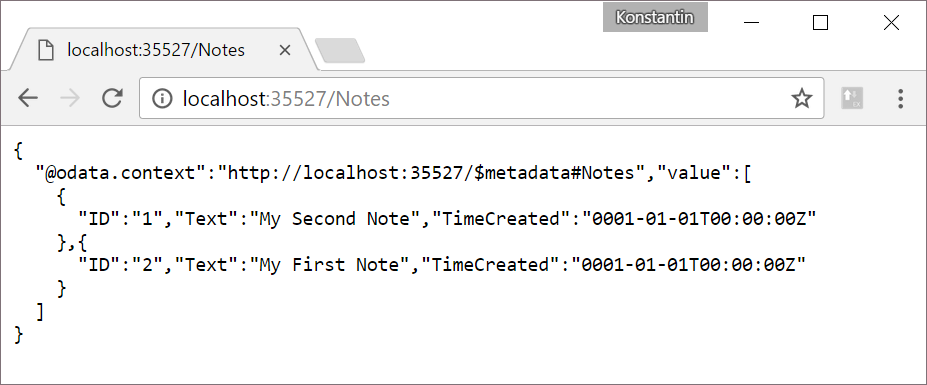
Add some records to the table via AWS Console with UserId field set to “demo_user_id” (don’t forget to flush your Redis instance after that!) - and they will appear in your browser.
Yet again the last thing to do on the server side is to implement user authentication and fill the UserId field with something more user-specific. Let’s use Google’s ID tokens, as we did before for WCF Data Services.
9. Add a class named GoogleJwtParser to your project and replace it’s code with the following:
class GoogleJwtParser
{
   public static string ValidateAndGetUserId(string tokenString)
   {
      var validationParams = new TokenValidationParameters
      {
         ValidateAudience = false,
         ValidateIssuer = true,
         ValidIssuers = new [] { "accounts.google.com", "https://accounts.google.com" },
         IssuerSigningKeyResolver = (t, securityToken, identifier, p) =>
         {
            var certificate = new X509Certificate2(CertsInBytes.Value[identifier[0].Id]);
            return new X509SecurityKey(certificate);
         }
      };

      SecurityToken validatedToken;
      var principal = new JwtSecurityTokenHandler().ValidateToken(tokenString, validationParams, out validatedToken);
      return principal.Claims.First(c => c.Type == "http://schemas.xmlsoap.org/ws/2005/05/identity/claims/nameidentifier").Value;
   }

   private static readonly Lazy<IDictionary<string, byte[]>> CertsInBytes = new Lazy<IDictionary<string, byte[]>>(() =>
   {
      using (var client = new HttpClient())
      {
         var certsString = client.GetStringAsync("https://www.googleapis.com/oauth2/v1/certs").Result;
         var certsInBase64 = new JavaScriptSerializer().Deserialize\<IDictionary\<string, string>>(certsString);

         return certsInBase64.ToDictionary(p => p.Key, p =>
         {
            var certInBase64 = p.Value
               .Replace("-----BEGIN CERTIFICATE-----", "")
               .Replace("-----END CERTIFICATE-----", "")
               .Trim();

            return new UTF8Encoding().GetBytes(certInBase64);
         });
      }
   });
}
This class uses JwtSecurityTokenHandler tool from System.IdentityModel.Tokens.Jwt package for dealing with tokens. Because Google’s ID token is signed with a certificate, the public part of that certificate must be downloaded from Google site, and that’s what happens at each service startup.
10. Now add the following method to your NotesController class:
private static string GetUserIdFromAuthorizationHeader()
{
   try
   {
      var authHeader = HttpContext.Current.Request.Headers["Authorization"];
      var authHeaderParts = authHeader.Split(' ');
      return GoogleJwtParser.ValidateAndGetUserId(authHeaderParts[1]);
   }
   catch (Exception)
   {
      throw new HttpResponseException(HttpStatusCode.Unauthorized);
   }
}
11. And replace the third parameter of DynamoDbController’s constructor with the reference to that method:
public NotesController() : base(DynamoDbClient, string.Empty, GetUserIdFromAuthorizationHeader, () => new RedisTableCache(RedisConn))
{
}
Since now the service becomes inaccessible from browser any more, as it expects the Authorization HTTP header to be passed. You can test it with e.g. Advanced REST Client tool.
Wrapping Up
So, we’ve just exposed a DynamoDB table to the Internet as an OData resource. And with ASP.Net Web API OData and Linq2DynamoDb.WepApi.OData it took even less code, than by using WCF Data Services technology. The ways to host our service are the same, as before: you can host it with AWS Elastic BeansTalk by right-clicking on your project and selecting Publish to AWS Elastic BeansTalk:

Or you can host your service in Windows Azure. Or wherever you like…
To consume the service you can use the same sample Ionic MobileNotes application, that I described in my previous post. Just a few minor changes might be needed, to adjust your JavaScript code to Web API JSON naming conventions: use notes.value field instead of notes.d. That’s it, enjoy :)